
Here are some pictures and notes of a piece I recently finished.

First thing I do is add a screw to where I feel my heaviest build-up of clay will be.
It\’s not entirely necessary now that I\’m using Magic-Sculpt(MS) and considering I\’ll cover the entire piece but better safe than sorry.
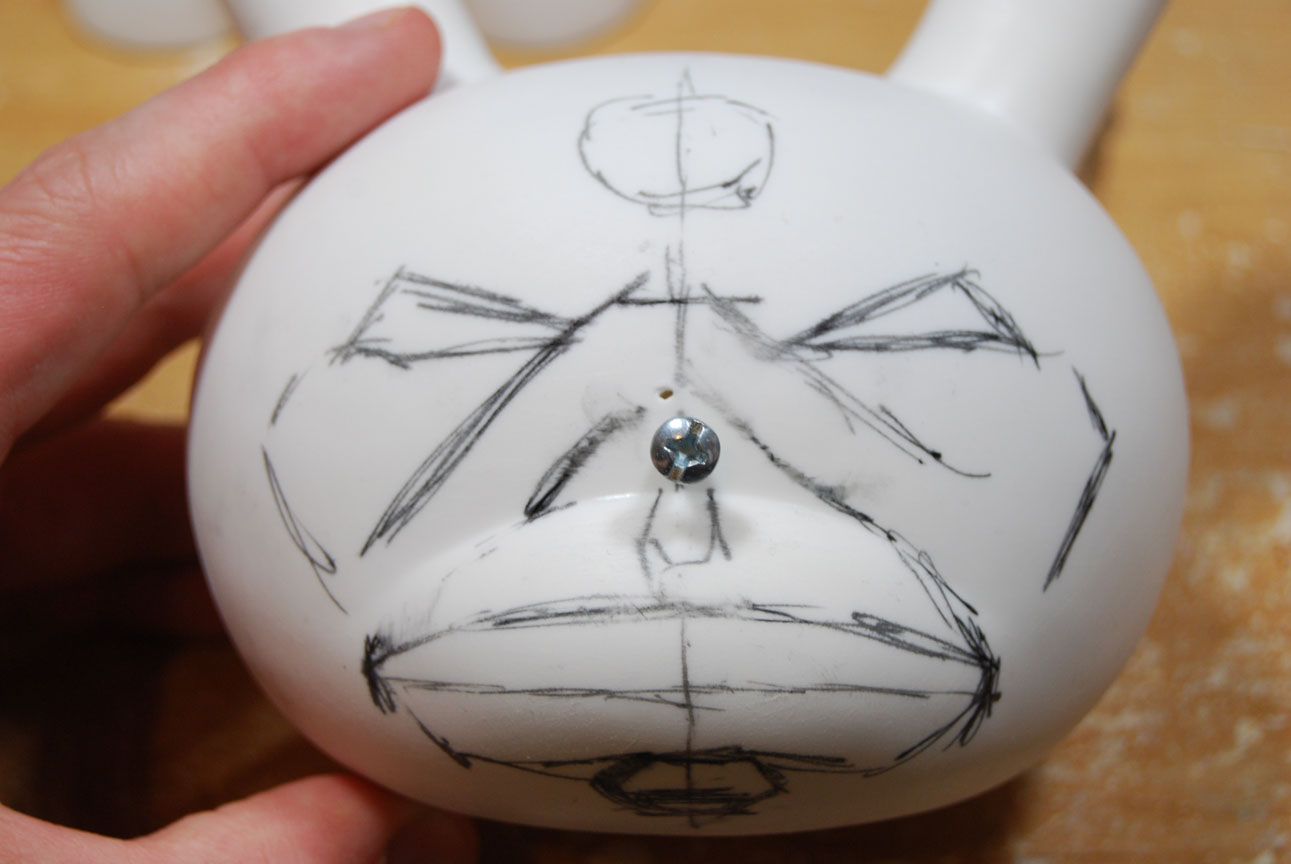
Some quick sketches of where features will be placed.

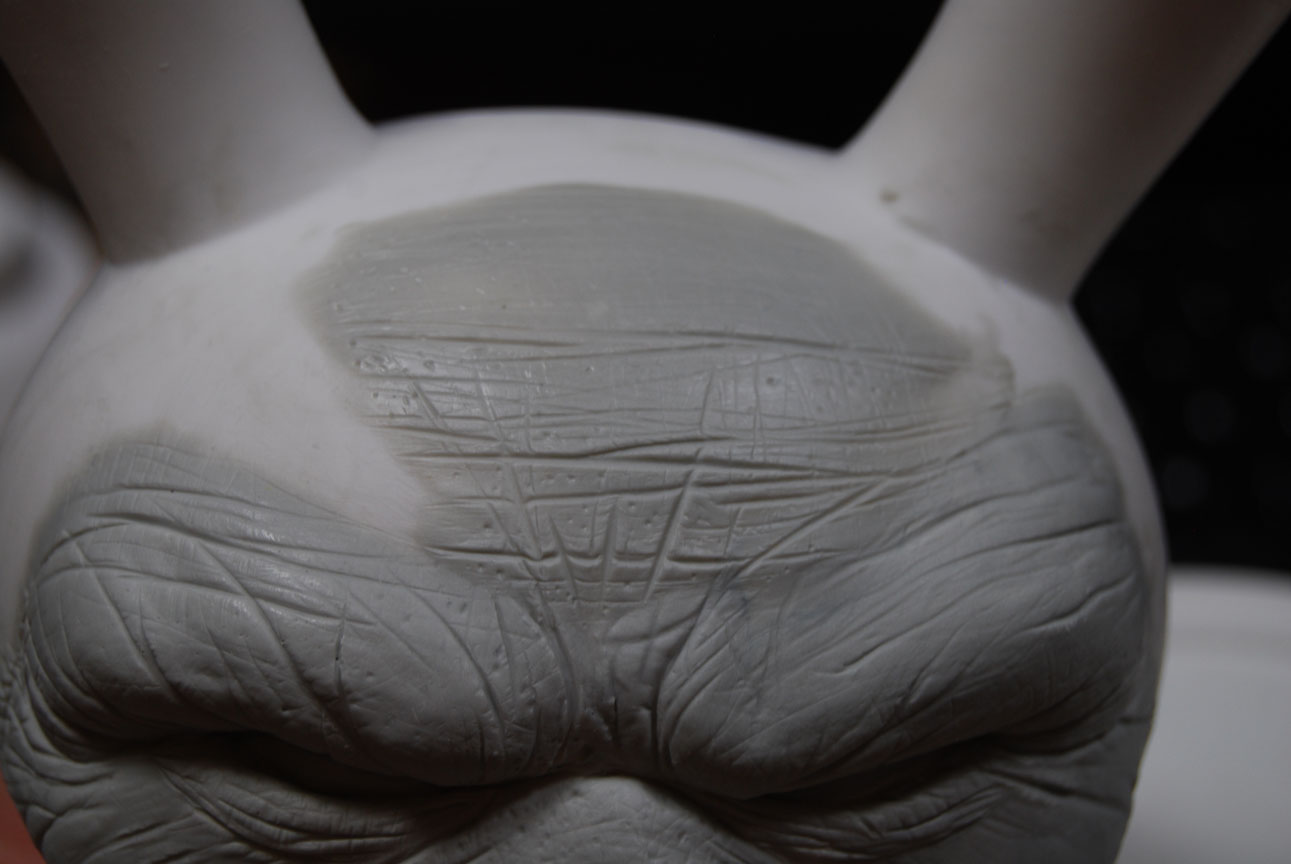
Here I have already removed sections of vinyl that will conflict with the over-all form of my piece. Using my heat-gun I warm up the vinyl and cut it with an x-acto blade. I then bulk out my first brow in MS.

I refine the brow with lots of wrinkles. I\’m smoothing the MS with plain water.
I also add the cheek . Due to the drying time of MS, I can no longer bulk out the entire piece like I did with Sculpey. I now have to work piece by piece slowly building up little by little.

I add the second brow.

And the second cheek.

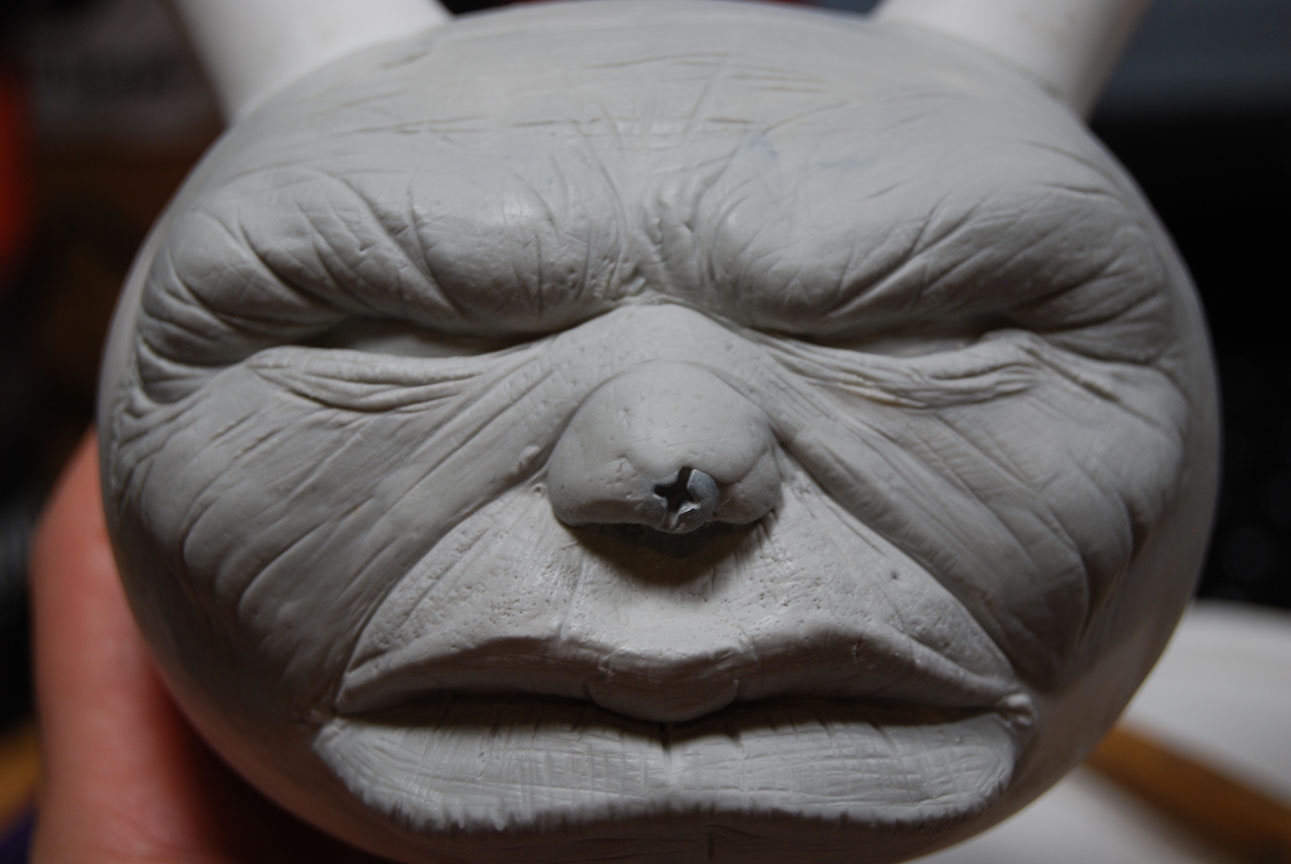
Now I block on the base of the nose. I also add a little more meat to
both cheeks and a little base of upper lip.
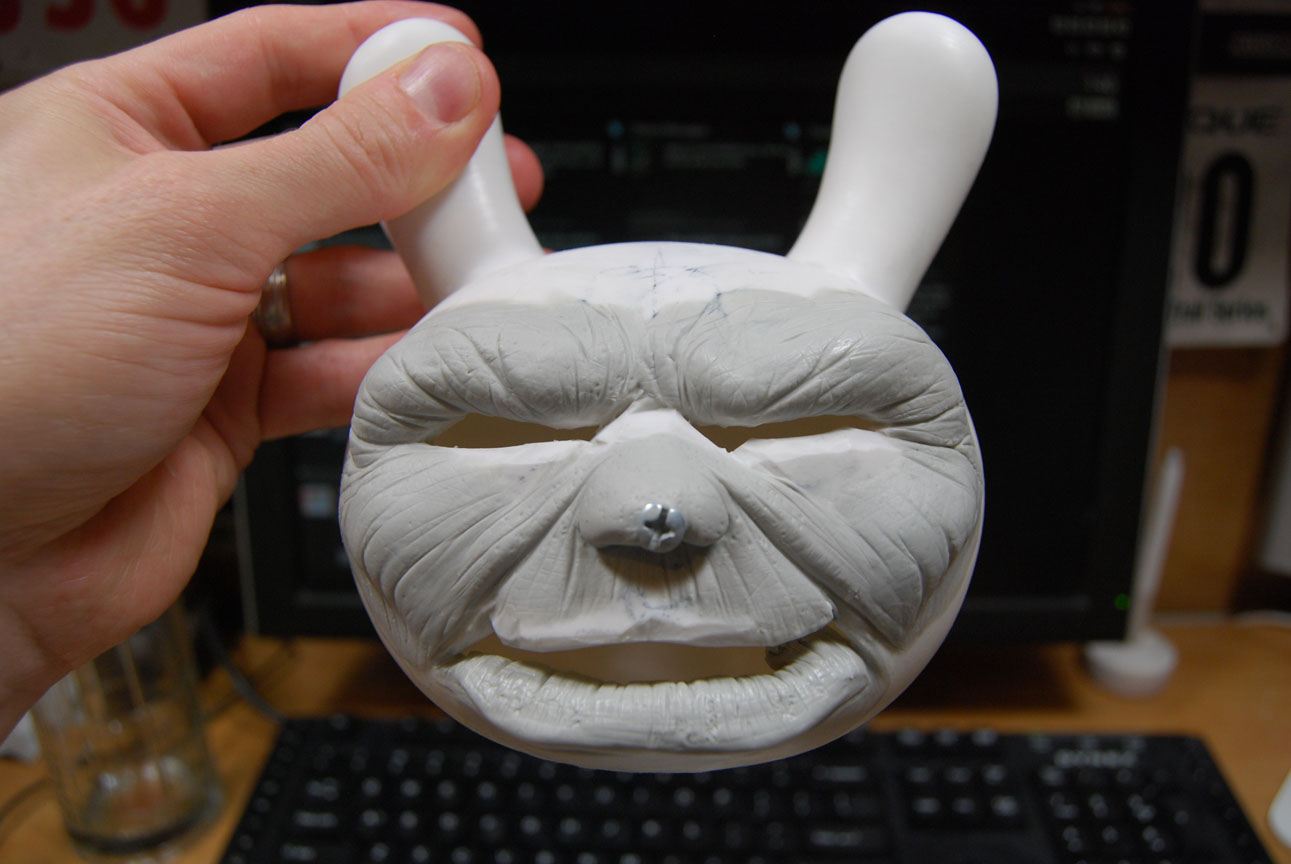
Here I block in the bottom lip. I ended up adding some unnecessary detail that would eventually be covered up. The MS was not sturdy enough to bridge the entire gap so I had to do it in two phases. I look at this guy right now and I see Jeff Bridges. How about you?

The unnecessary detail.

I add the lower eyelids and block in the upper lip.

I refine the upper lip.
At this point I decide it would be cool to wrap the entire piece in detail. The original 3\” version only had a sculpted face. The beauty of a larger piece is that I can add so much more detail.
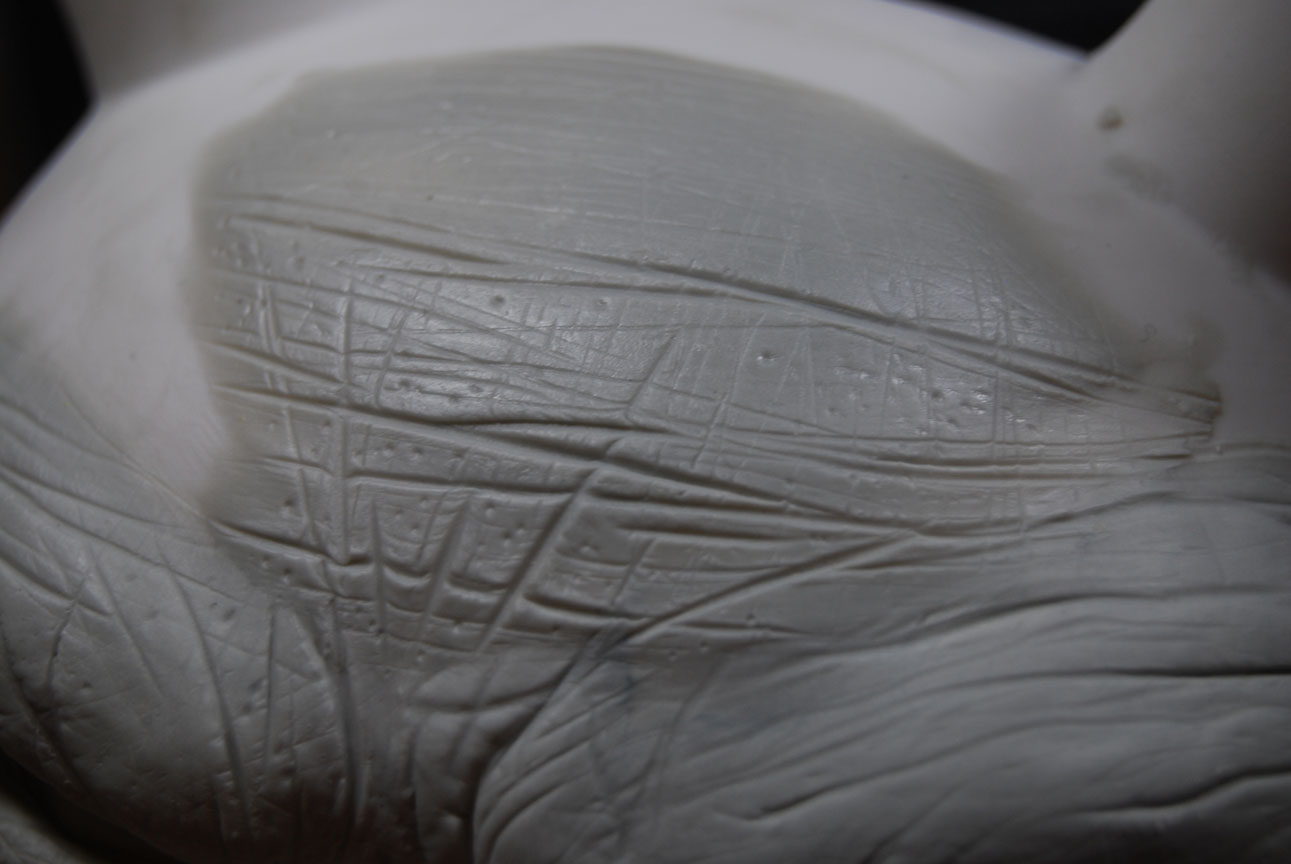
Lots of wrinkles. This guy has been out in the direct sun all day for his entire life.
His skin is like leather. Red Michael Jackson leather.
Here I finish the lower lip by adding more and closing the mouth up.
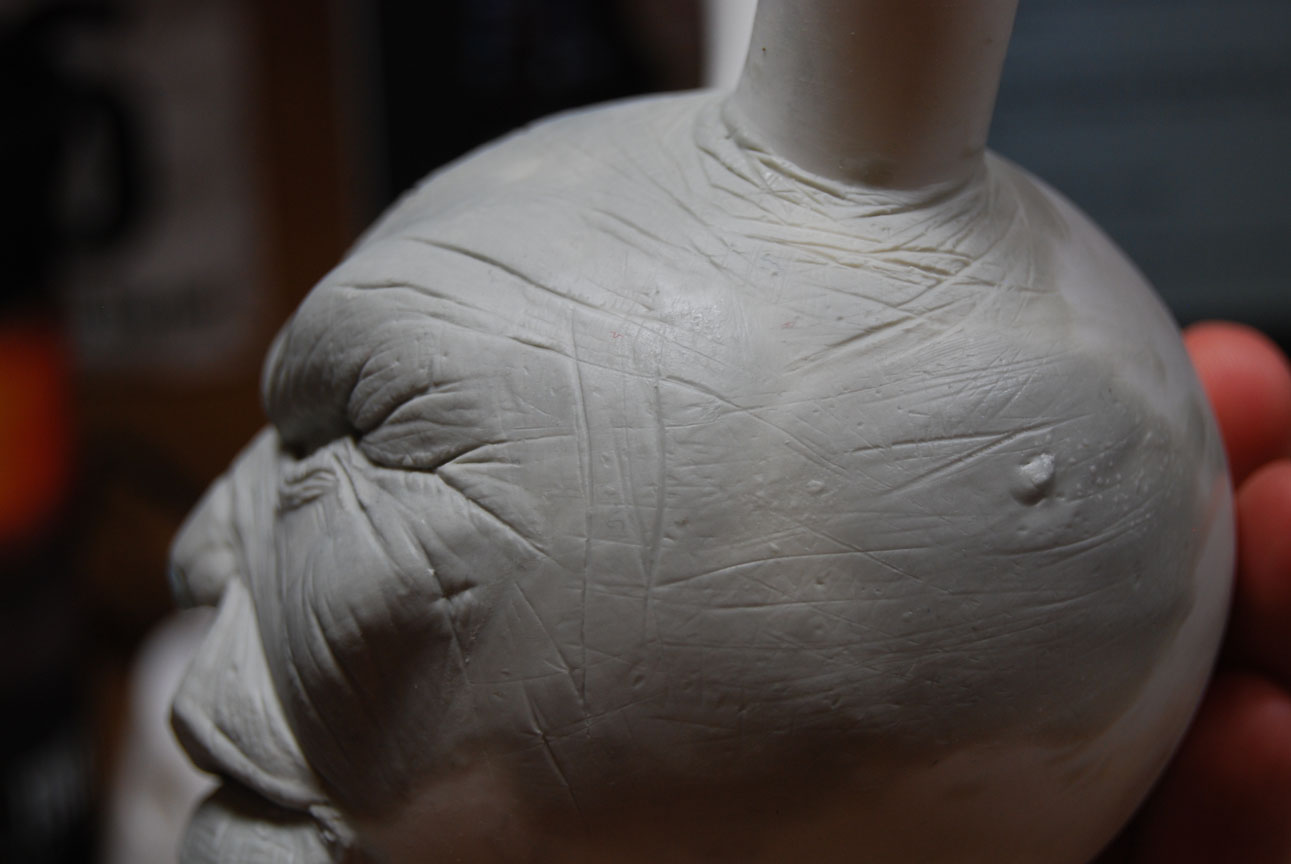
Adding more detail to the side of the head. Moles and all.

I wanted the ears to look like they had some flexibility so I really wrinkled up the joints.

More texture and more moles.

Forehead just about done here.

I create the nose bone separately and then attach once it is completely set. I then complete the nose sculpt around the bone.
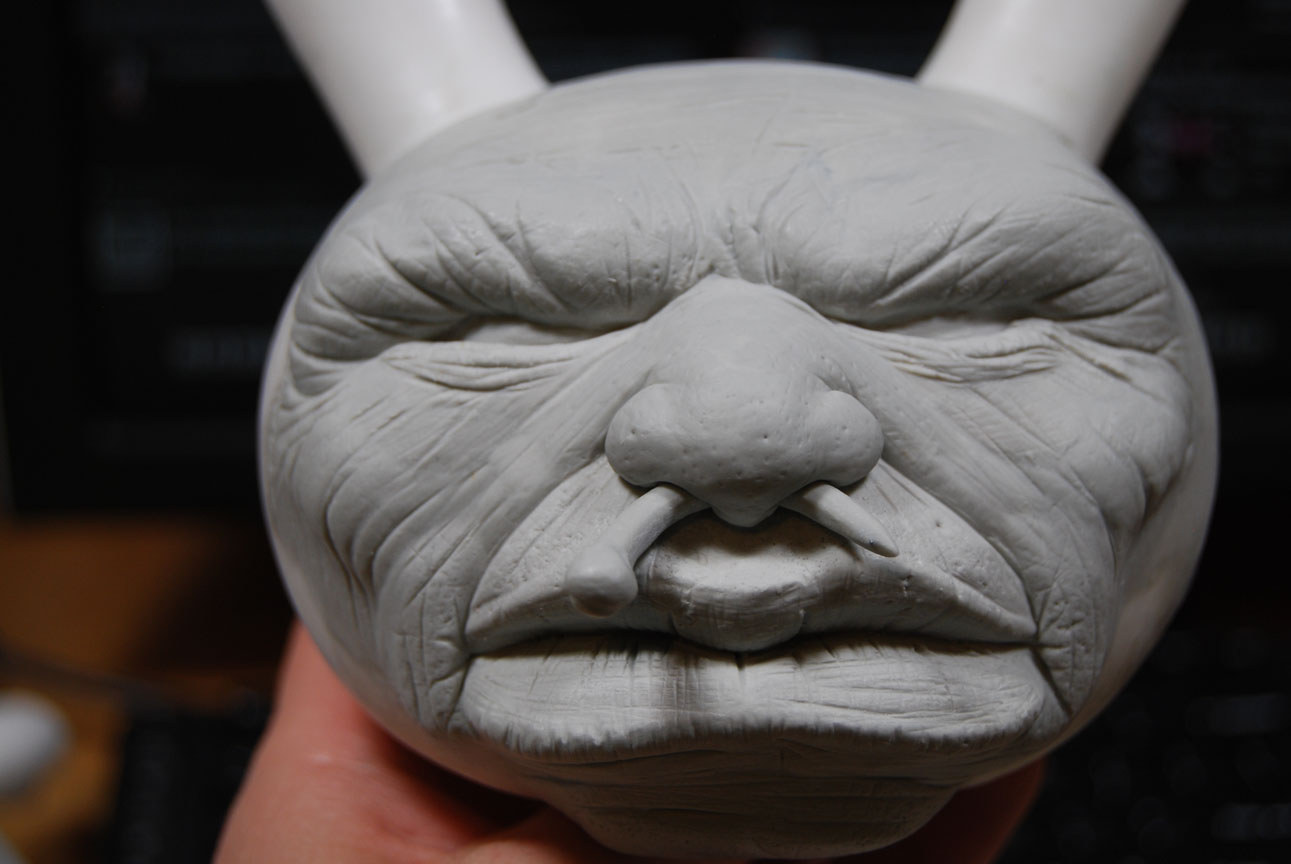
Here I bulk up the corners of the mouth. They were to thin and I wanted some more meat to him.
I also add the chin.

A better look at the corner of the mouth.

And a better look at the chin.

And here\’s the last photo I have. Suddenly the piece is nearly done. I guess I forgot to take more pics.
I had finished covering the rest of the vinyl head and body with the same skin texture. Then you can see I have begun to add one of the two bandages. After that it\’s on to paint. Oh, you\’ll never see me do a paint step by step. MAybe in years to come when I feel like I might have something to offer.
More pics to come of the finished piece on Monday. Or you could just head on over to

Sooooo Rad to see the process.
LikeLike
do you find MS to work better for you then Sculpey? I just began designing DIY's and worked with the super sculpey. It was difficult at first so I'm curious as to how the MS would be better. Here's a link to an example of my \”Time Lincoln\” : http://spaghettiproject.bigcartel.com/product/time-lincolnLove to here what you think.
LikeLike
WOW. Thanks for that VERY detailed message about your materials. I will definetly have to try out the MS clay. Thank you for being so helpful!
LikeLike