So it was suggested of me last night that I might want to make a video of me sculpting. Now there are a lot of great videos out there already of artists far, far superior to myself but never-the-less I do believe that I would have something to offer if I made a video. Each artist has their own insight to common techniques and even the worst artist may be the best of teachers. My mother was a teacher for her entire career and now that she\’s officially retired she still subs. I guess what I\’m trying to say that I think that the teaching bug is in me and eventually I would like to go down that path. I even taught at a high school in Sarasota FL back in my college days.
So a video will eventually come I think. But for now I\’ll start to chronicle my process a little better. I have always tried to do this but lately I\’ve been doing a lot of commissions and in order to respect the clients right to first viewing I haven\’t been posting my WIP pics.
However, I have taken lots of pics of most of my work so while the current sculpt is baking and cooling I\’ve decided to post WIP of the Mega I did for Munnyworld last November.
I\’ll just have some brief notes here, nothing too instructive. But I will make notes in the future and expect for a detail tutorial be be done.
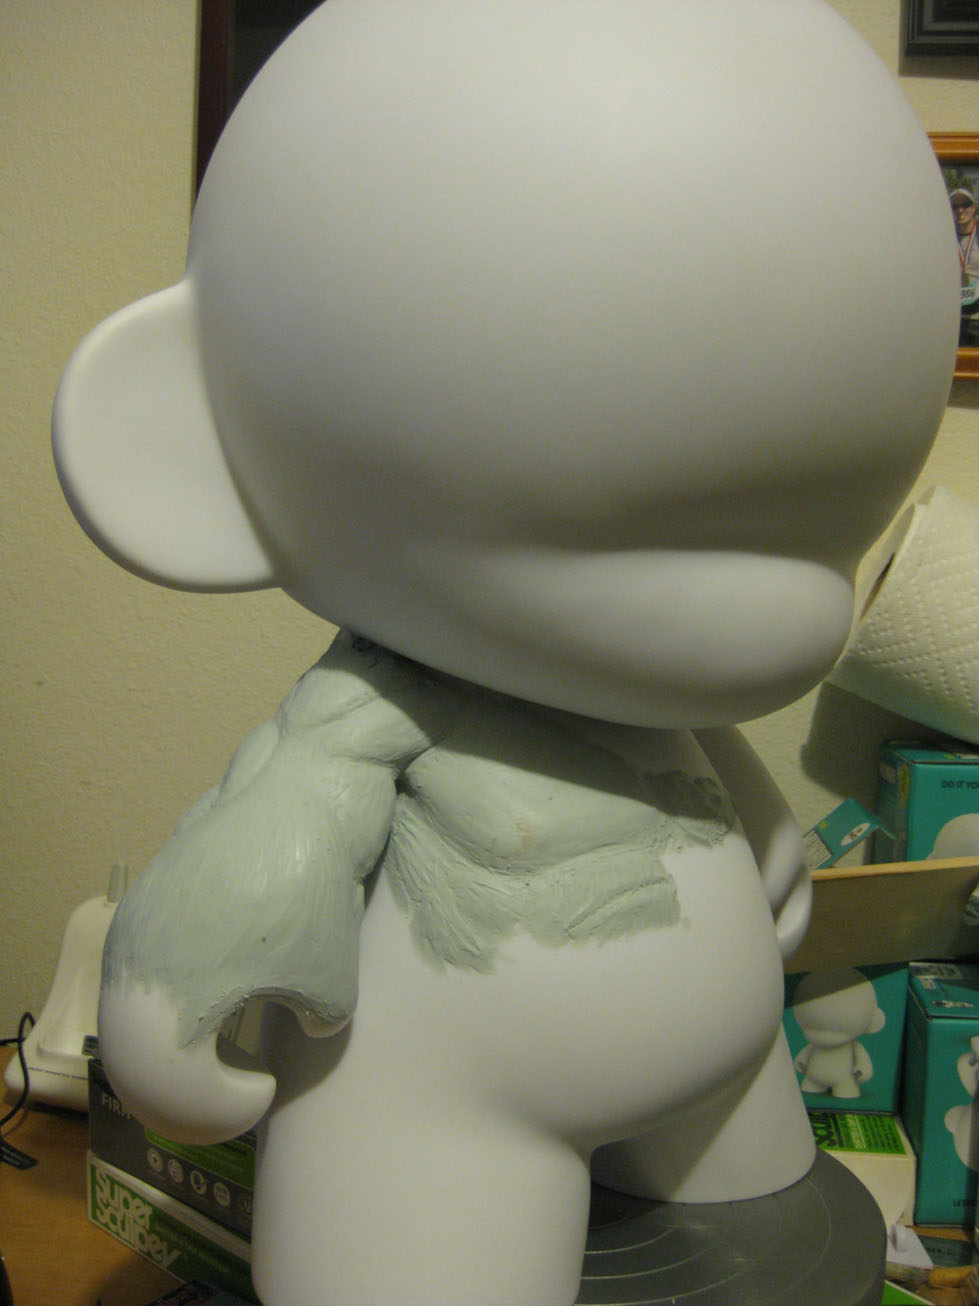
k, so here we have the first go of it, in just about a hour I threw on a rough sketch of the right arm and chest, took longer, much longer to mix the sculpey, think I used one package of blue scupley 3 and a box of super sculpey with my pasta maker


in this pic you can see a box of firm sculpey, I\’ve used this a few times and like it a lot but it\’s not a soft to work in as super sculpey, it\’s plus is it\’s durability after it\’s been baked

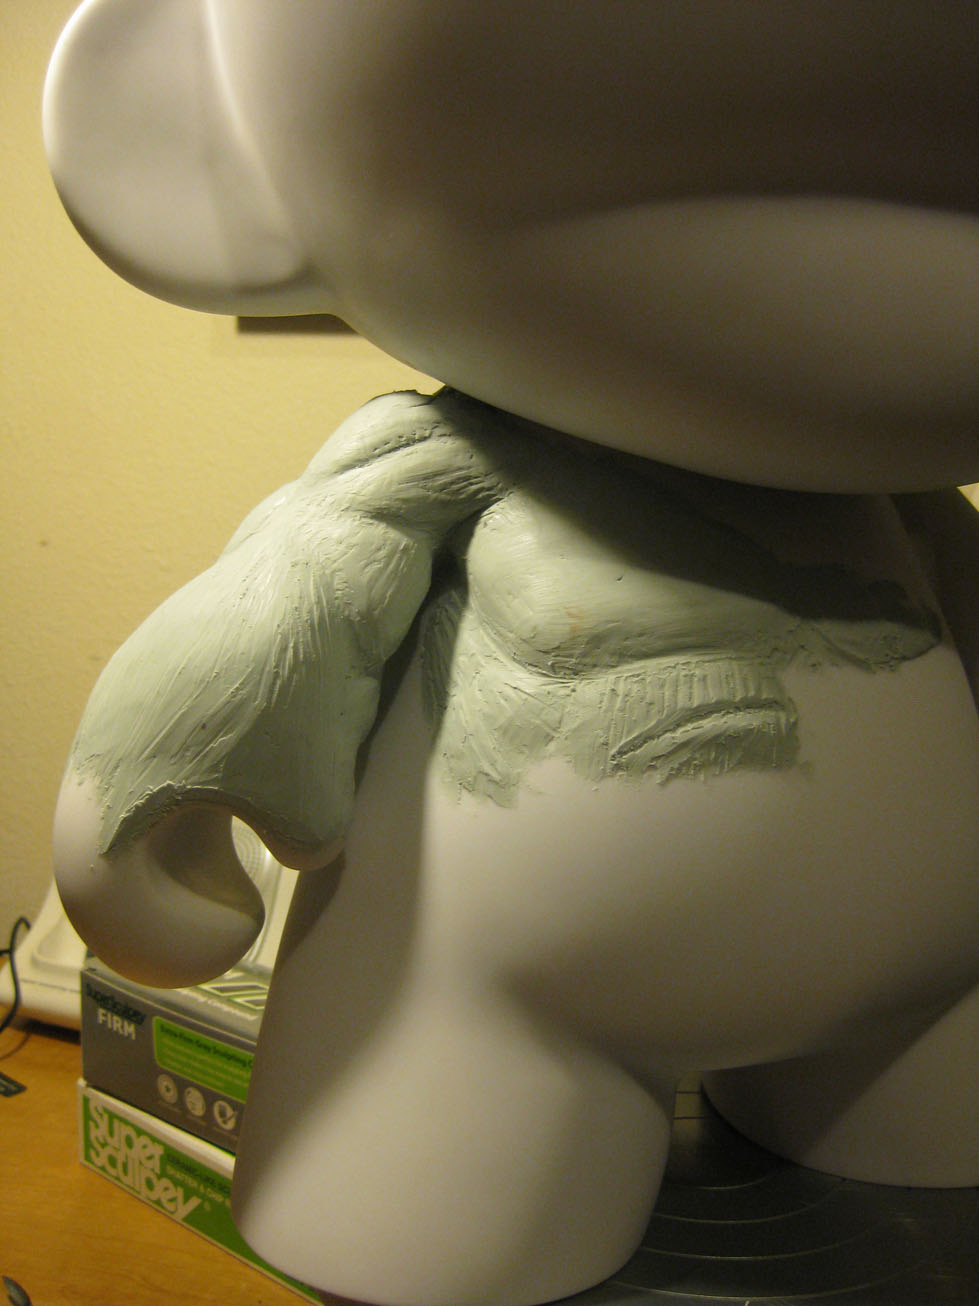

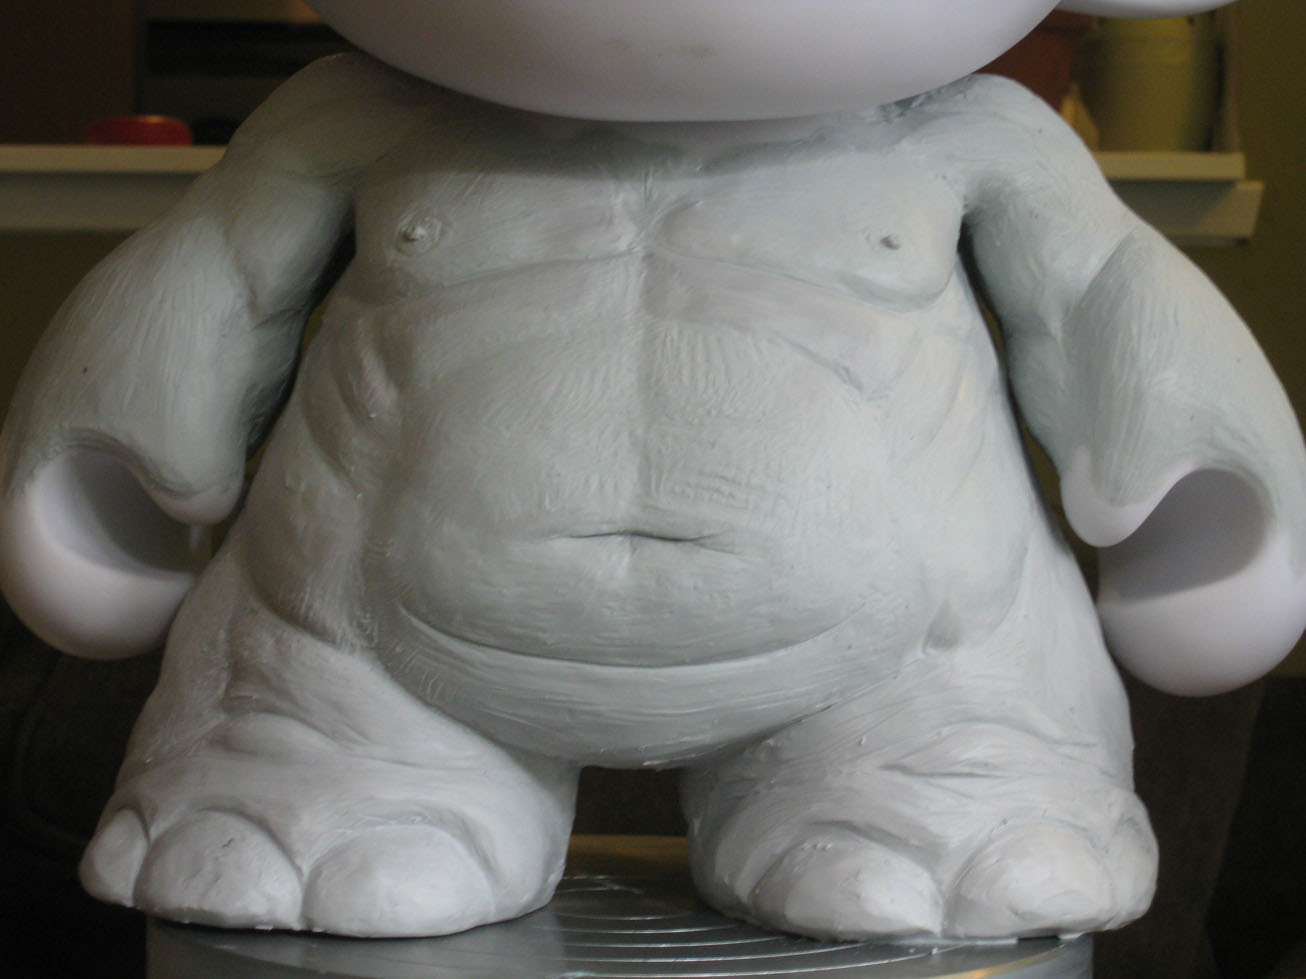
I\’ve now quickly sketched in the other side along with the abs and side flanks
I\’m just trying to keep it loose and figure how I want things to look, I frequently have no idea what I\’m going to create when I get started, just a basic concept in my head and I let myself discover it as I go along, this is a really poor way to work and causes a lot of additional work backtracking, I do not recommend it and hopefully one day I\’ll remedy that bad habit
MAKE THUMBNAILS, ROUGH SKETCHES, COLOR STUDIES
MAKE THUMBNAILS, ROUGH SKETCHES, COLOR STUDIES

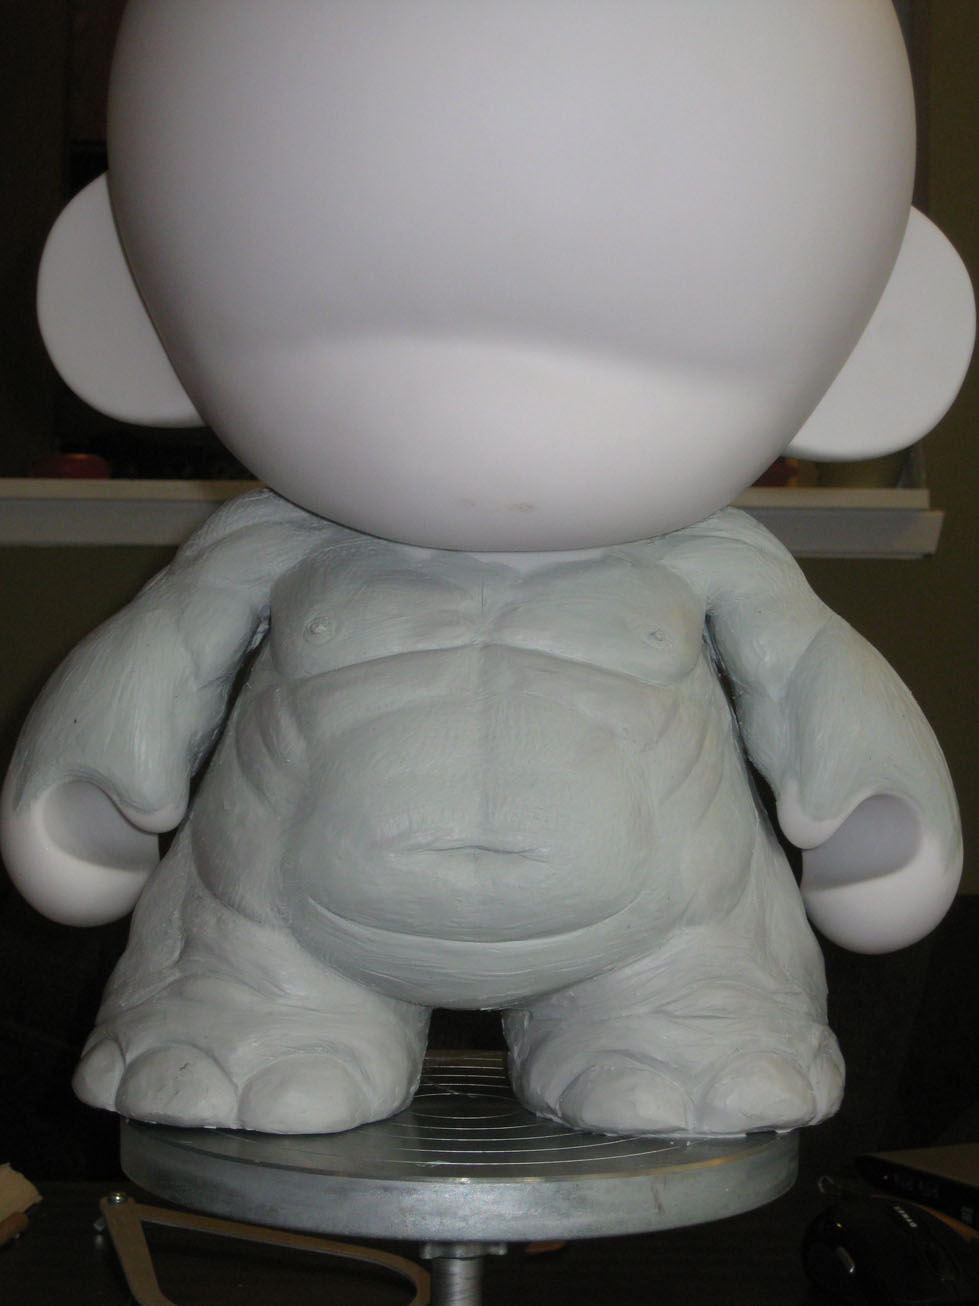
starting to smooth things up a bit here

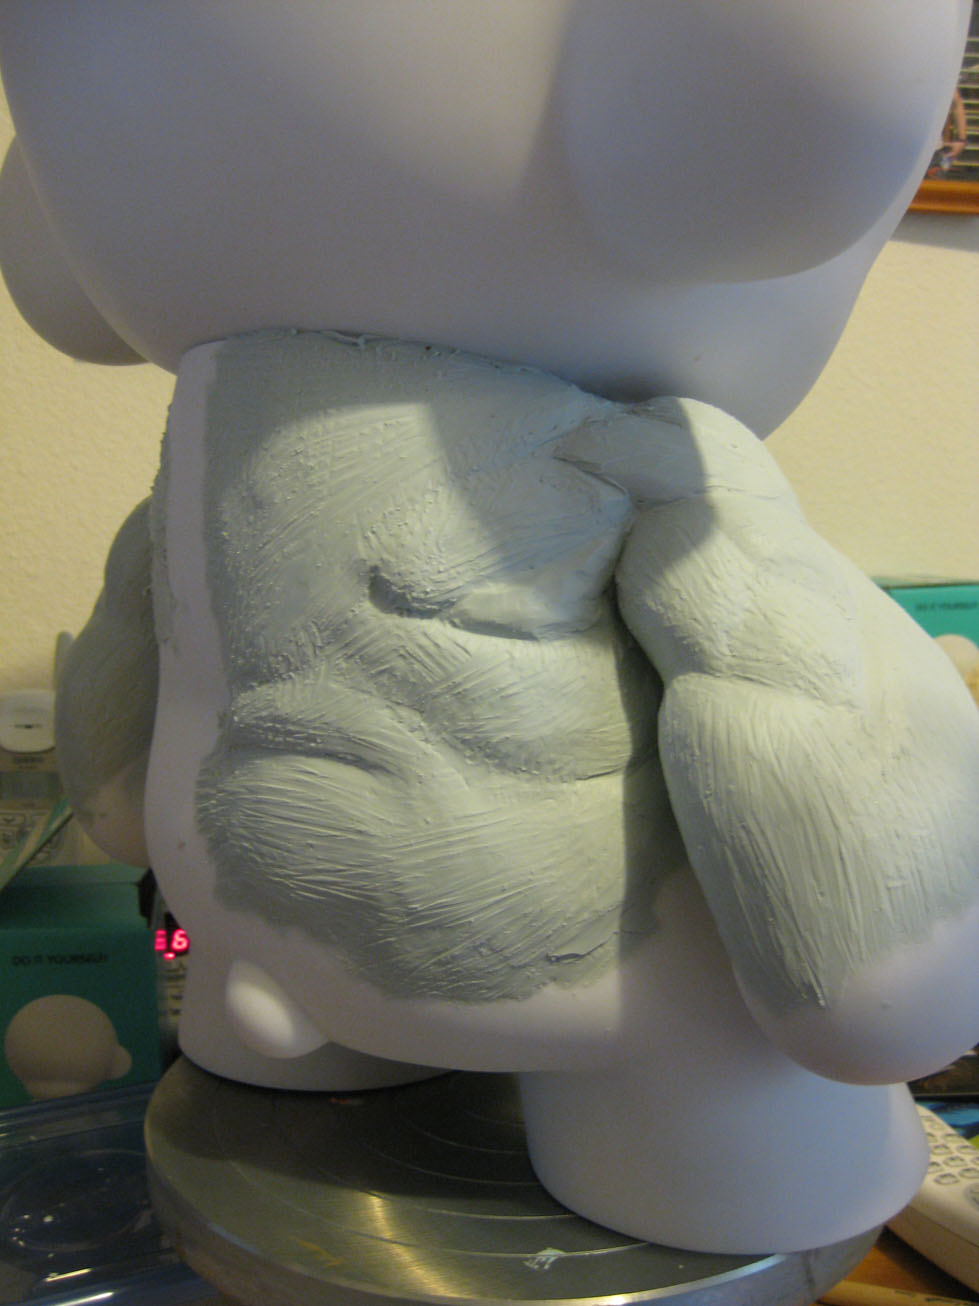
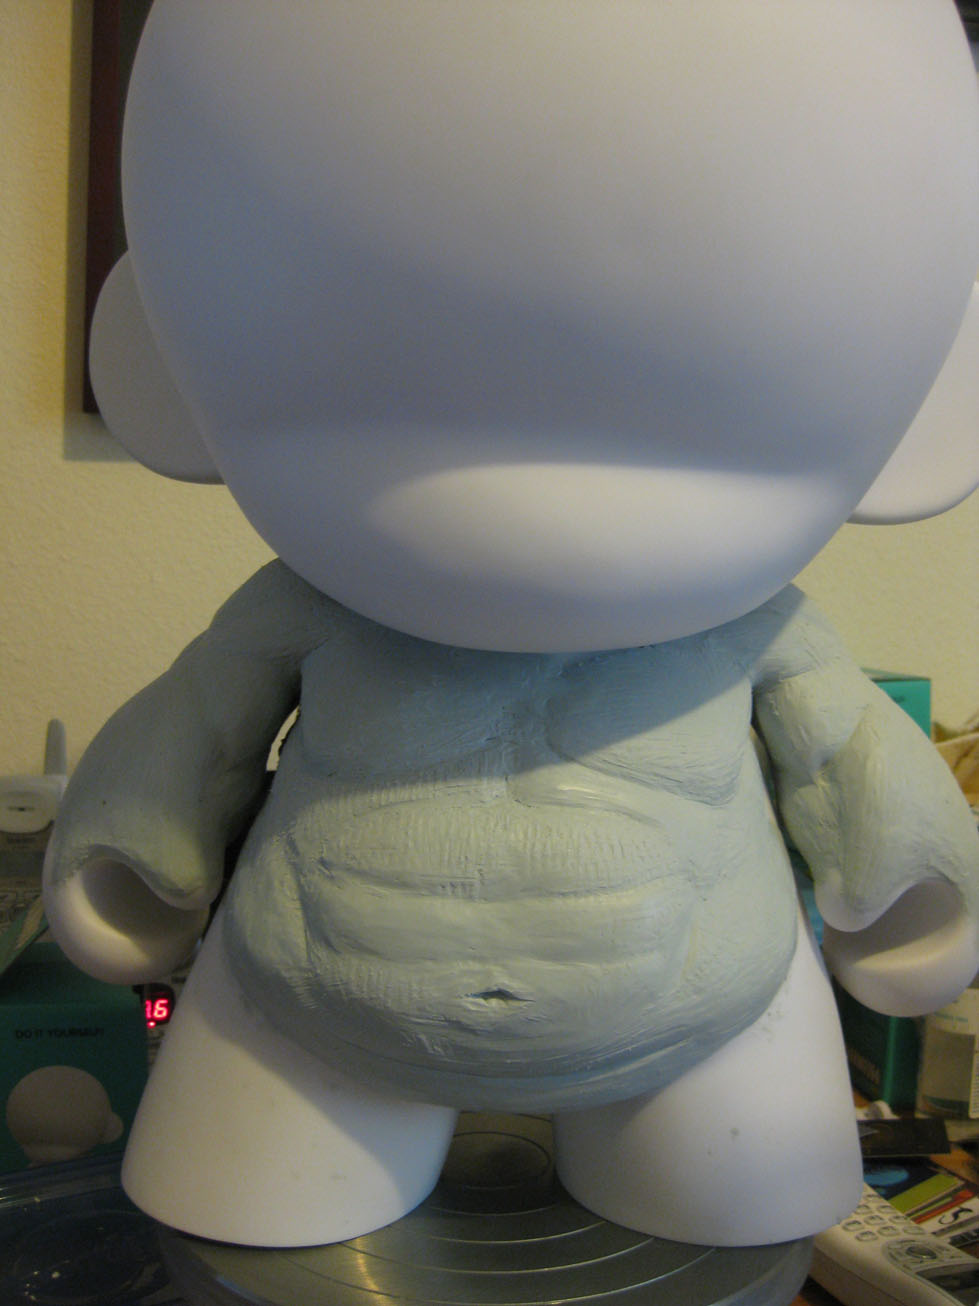
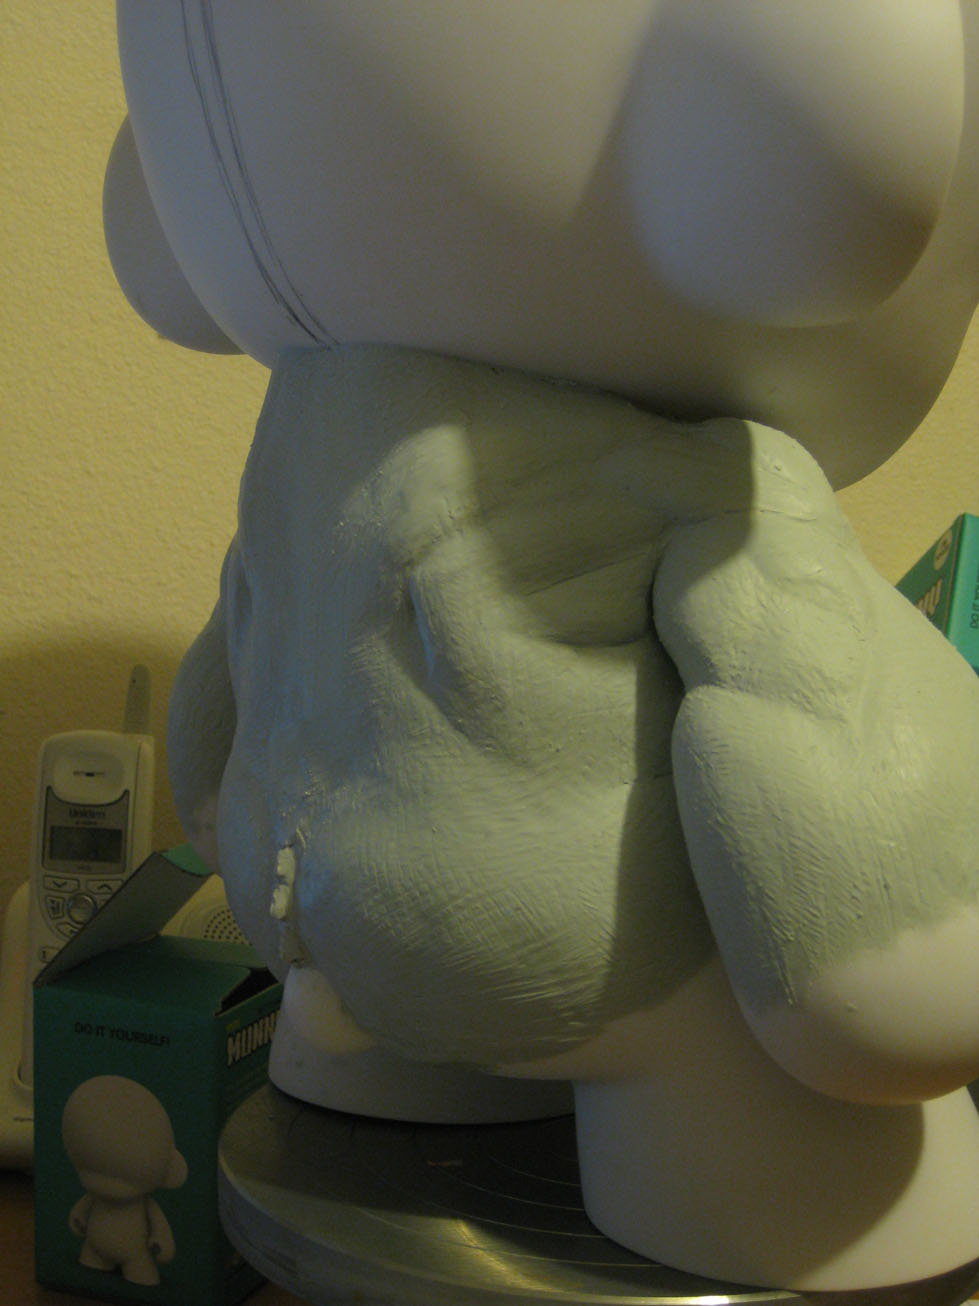
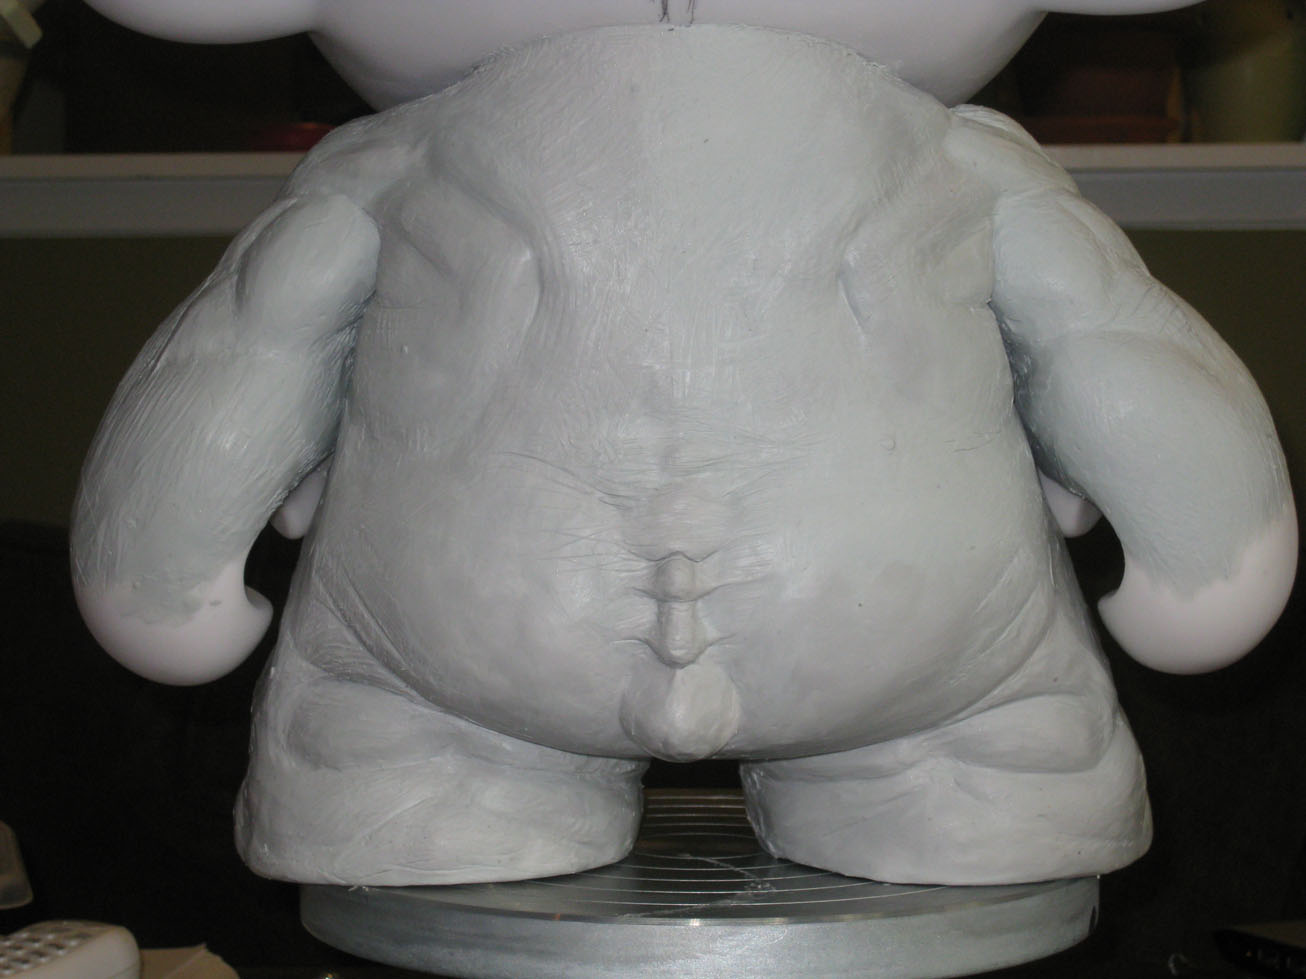
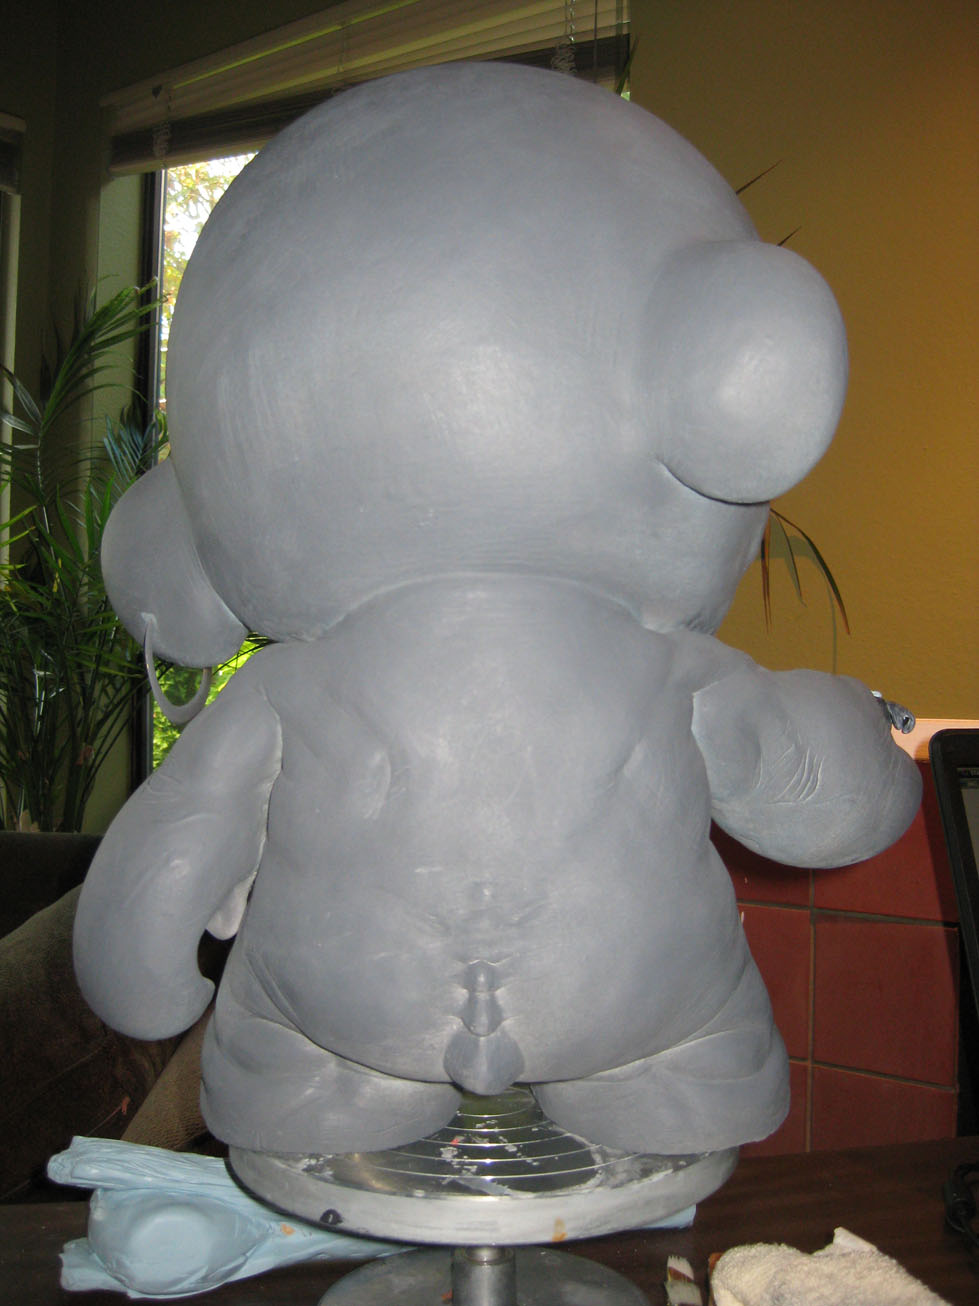
now working on my back
at this point I\’ve got my anatomy book out cause it\’s been years since I\’ve done anything like this and although I have a general idea of where things belong I want to make this a real a possible
notice also the rake marks in the clay, I like to get the clay on there in basic shapes first and then use a raking tool to remove and refine the shape

the back of this guy was a bit annoying, no offense to the great people at KidRobot but the Munnys and Dunnys are anything but symmetrical which made it tricky for me to say the least

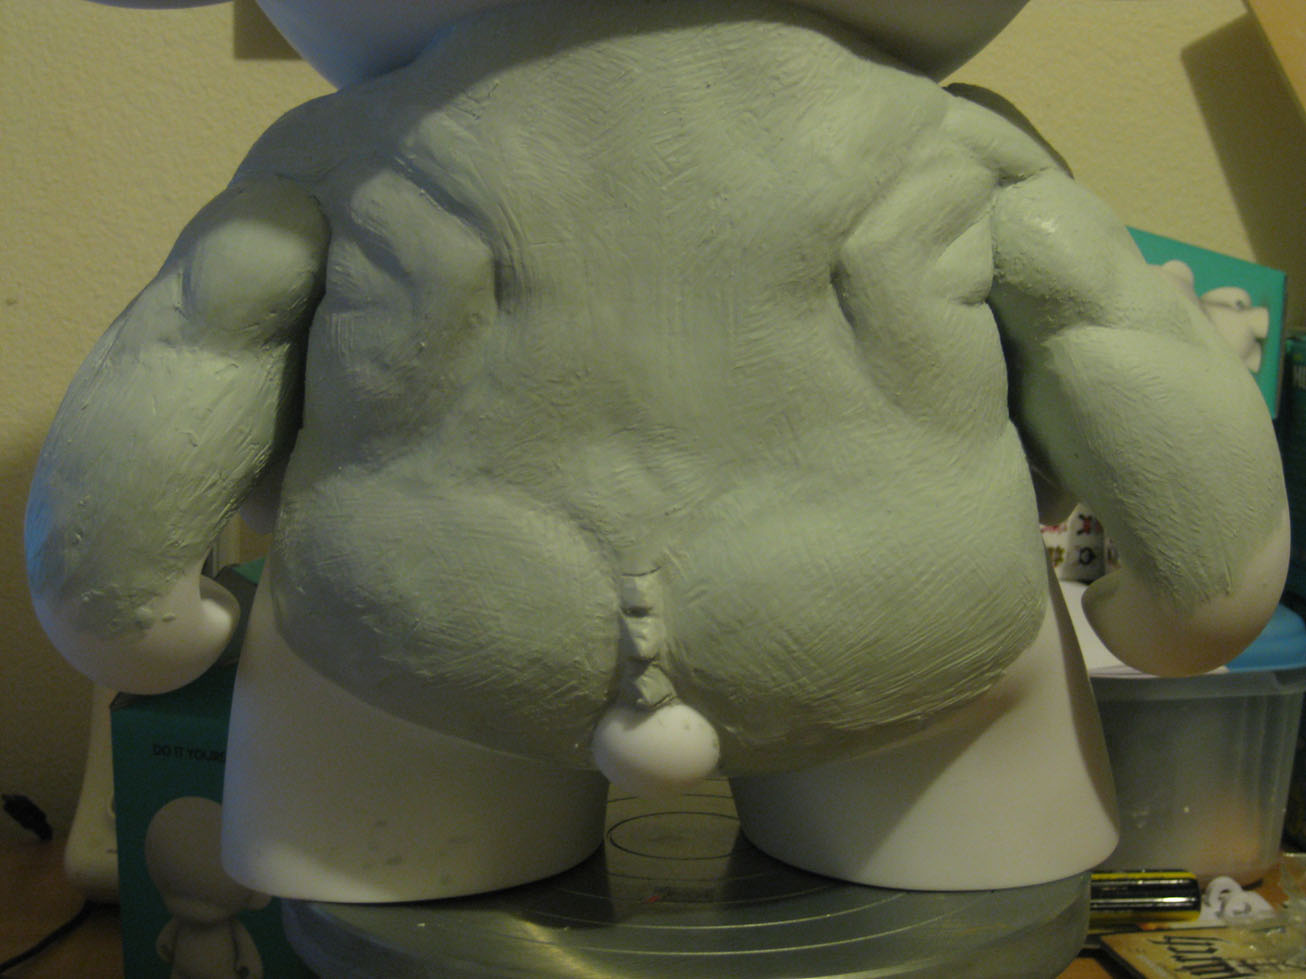
I\’ve now roughed out the feet, I\’ve decided to go with elephant-like feet
oh, yeah, and on these bigs pieces I like to use the lazy suzan so I can work in the round, constantly turning and viewing the piece from many angles trying to see the correct shape
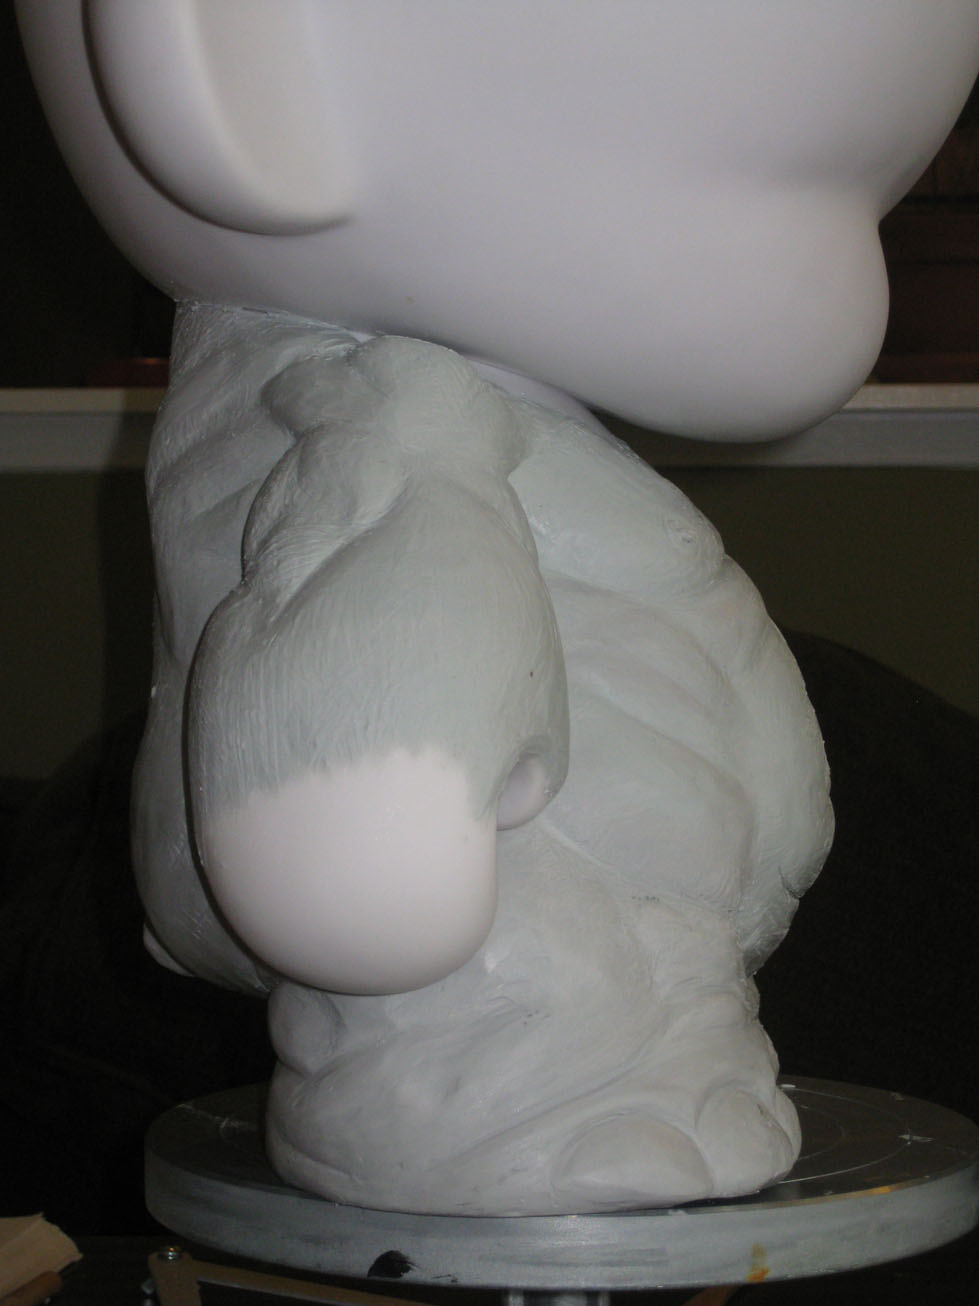
see that line at the bottom of the stomach? a good friend was kind to ridicule me for making it look like a pouch, eventually I would remove it
I show my work to friends and family frequently as they\’re going to be your best critics
fresh eyes are a god send


here you\’ll see the pouch is gone and some strange blue rash has appeared
I ran out of my premixed clay and had to make more, unfortunately the art store did not have the same color and I had to use a different blue

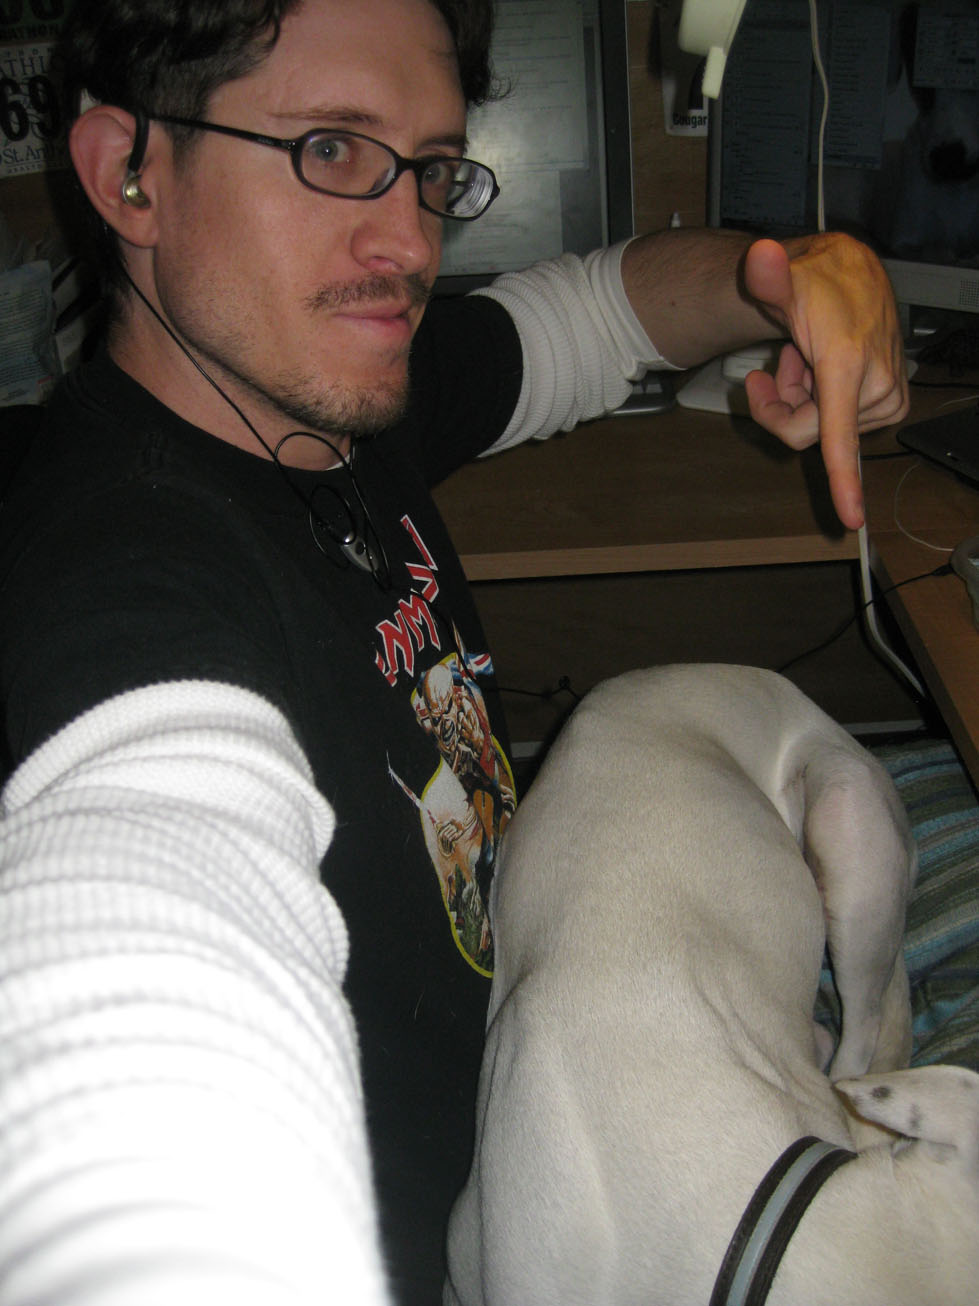
oh, and this is Penny, my 55 lb lap dog, she will occasionally join me while I work

UP THE IRONS!!

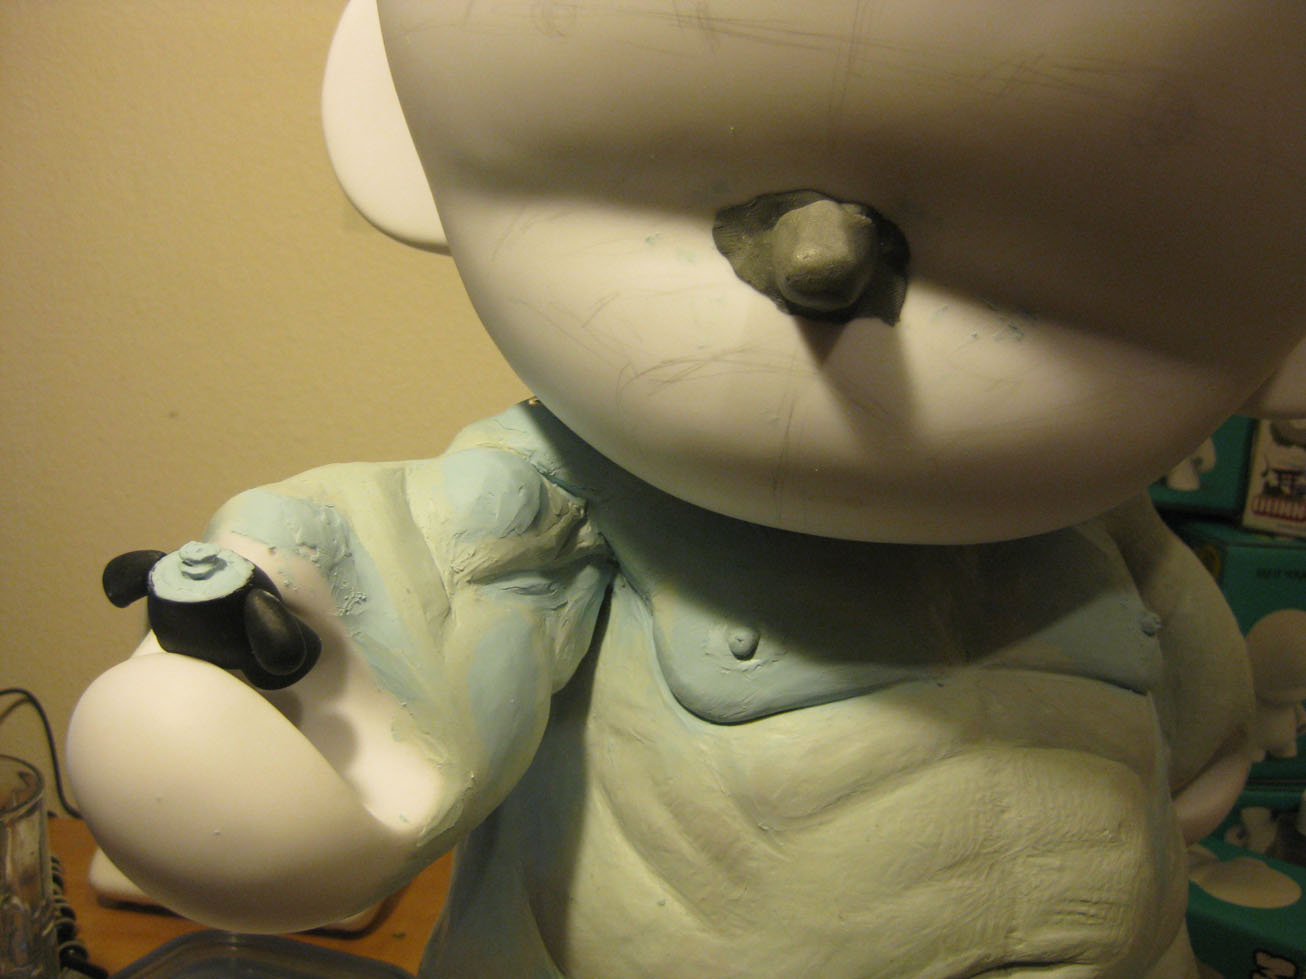
so at this point I realized that the arms were just too static, and I also decided it would be really cool if my Troll was actually in the process of eating a dunny
so I used plumber putty and armature wire to hold the arm in place
Plumber putty is a great 2 part epoxy that comes in a roll, you slice off what you need, mix it to a consistent color and within 5 minutes its hard as a rock


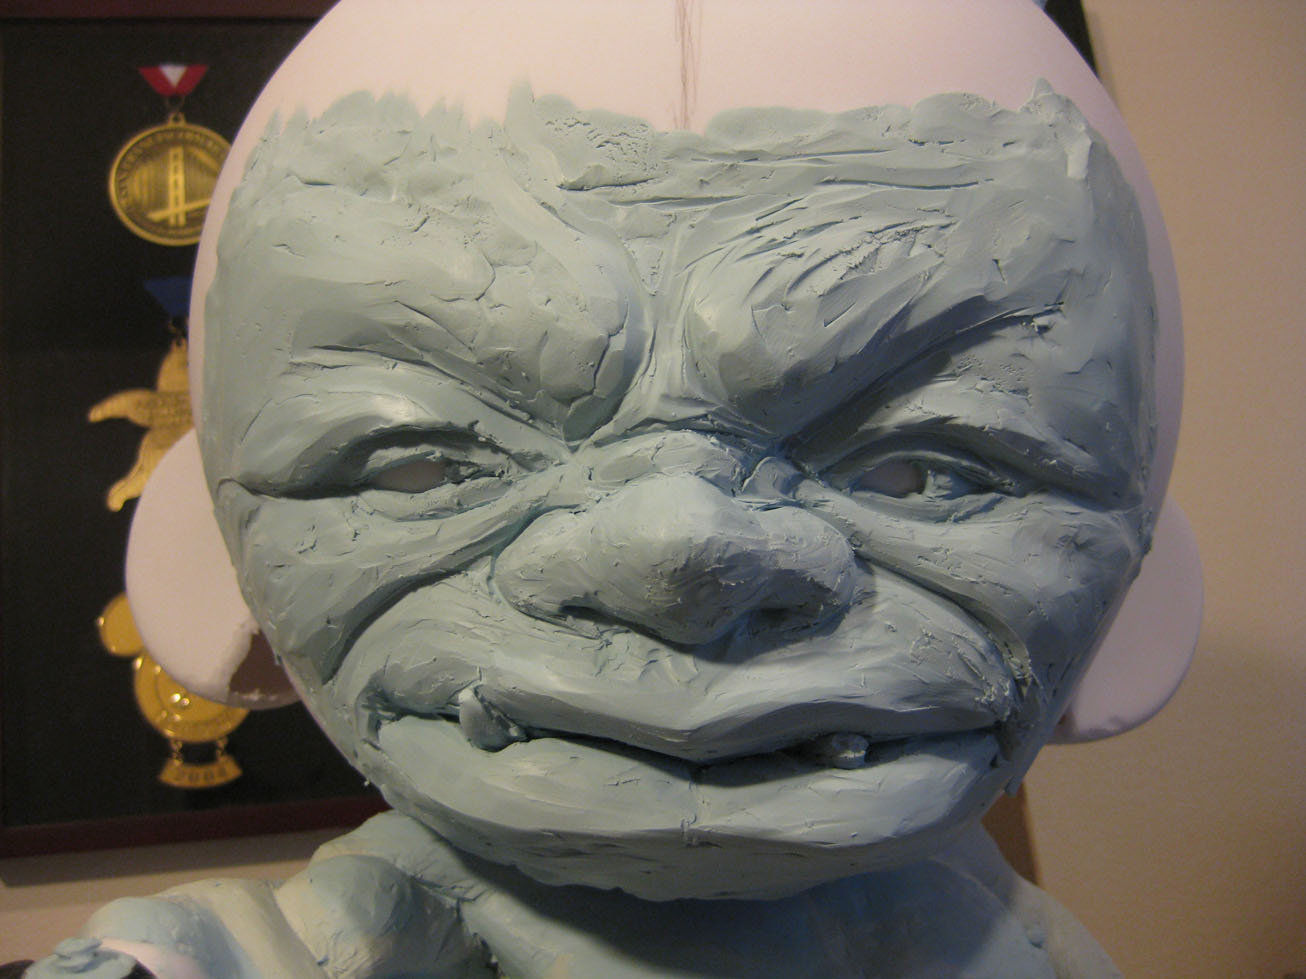
I\’m now about ready to move on to the face, again I used plumbers putty along with a screw
I did this so that the clay would have something to grab onto. I also sand the entire munny with a course grit sand paper. really want to be sure that the clay adheres to the vinyl.


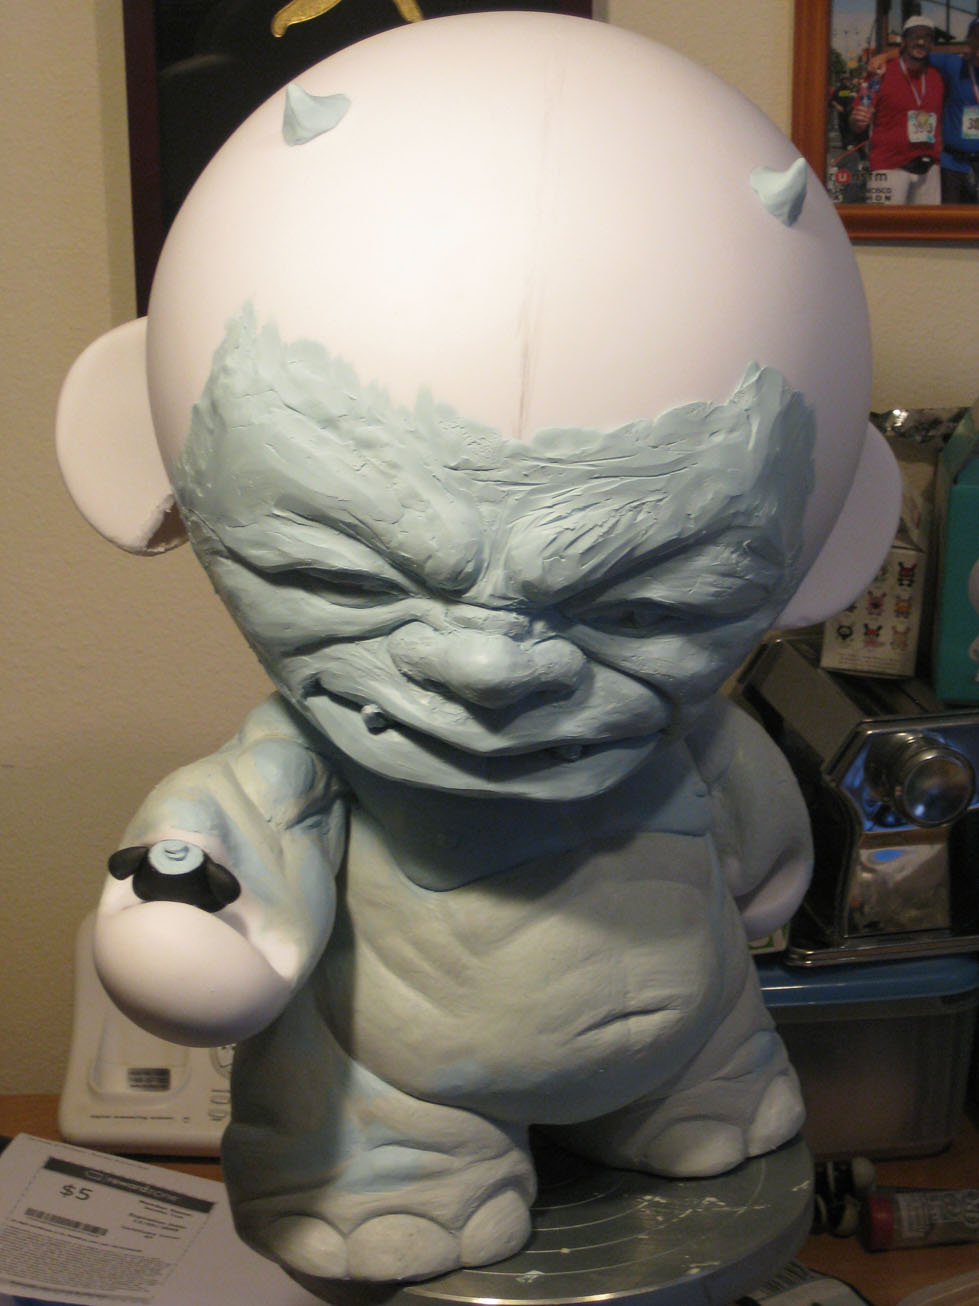
forgot to mention the dunny,
yes I ripped a head off a dunny, sketched in a spine and put him in place
ah, there he is, mr good-looking
woah! what happen, apparently I got forgetful with the camera
so I finished the face and added a nose and ear ring and then I took alcohol with a brush to the entire piece, smoothing out the roughness and adding the fine detail

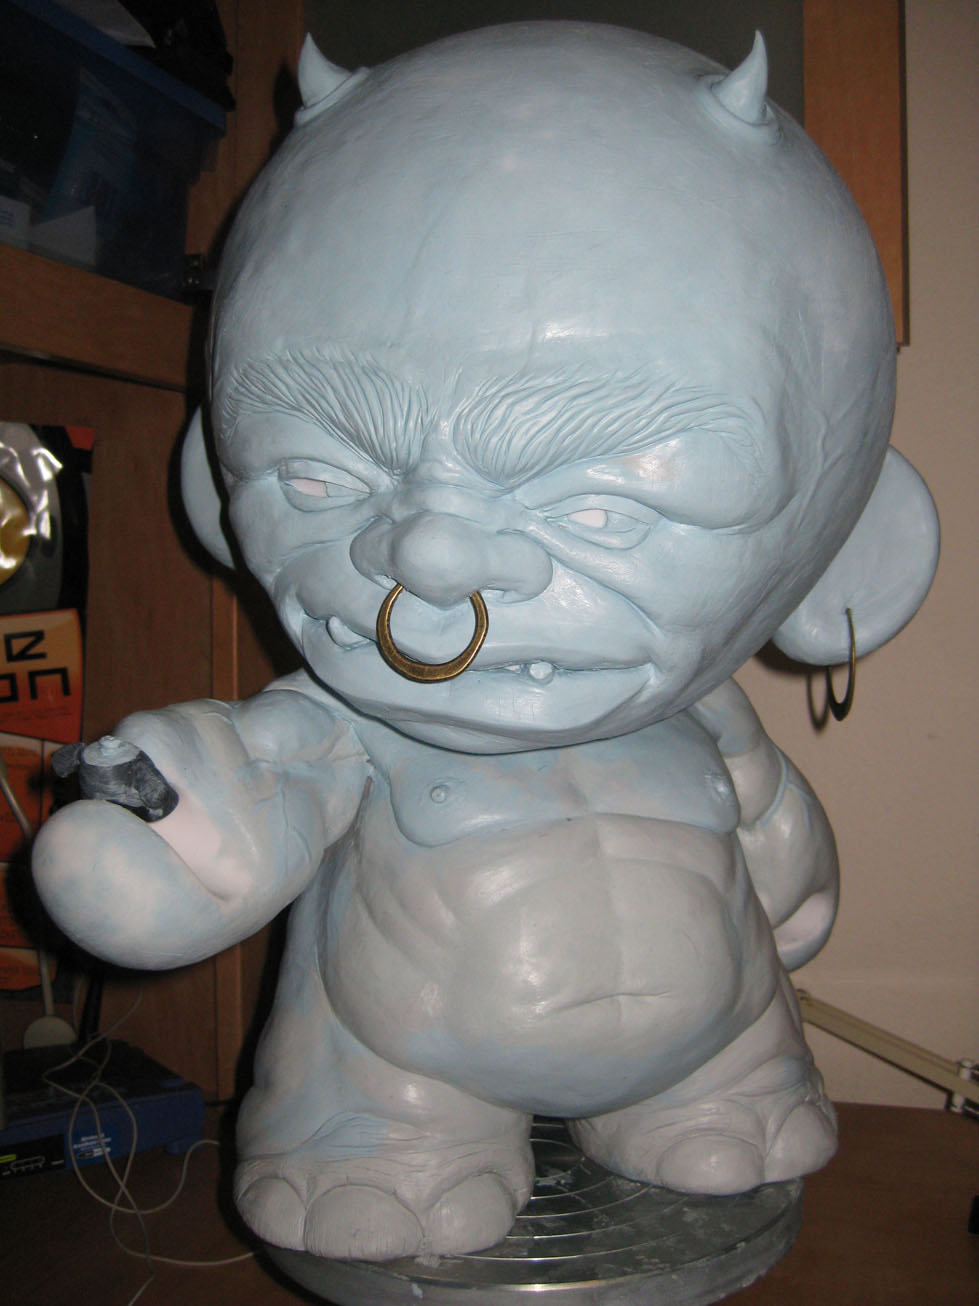
primed this guy
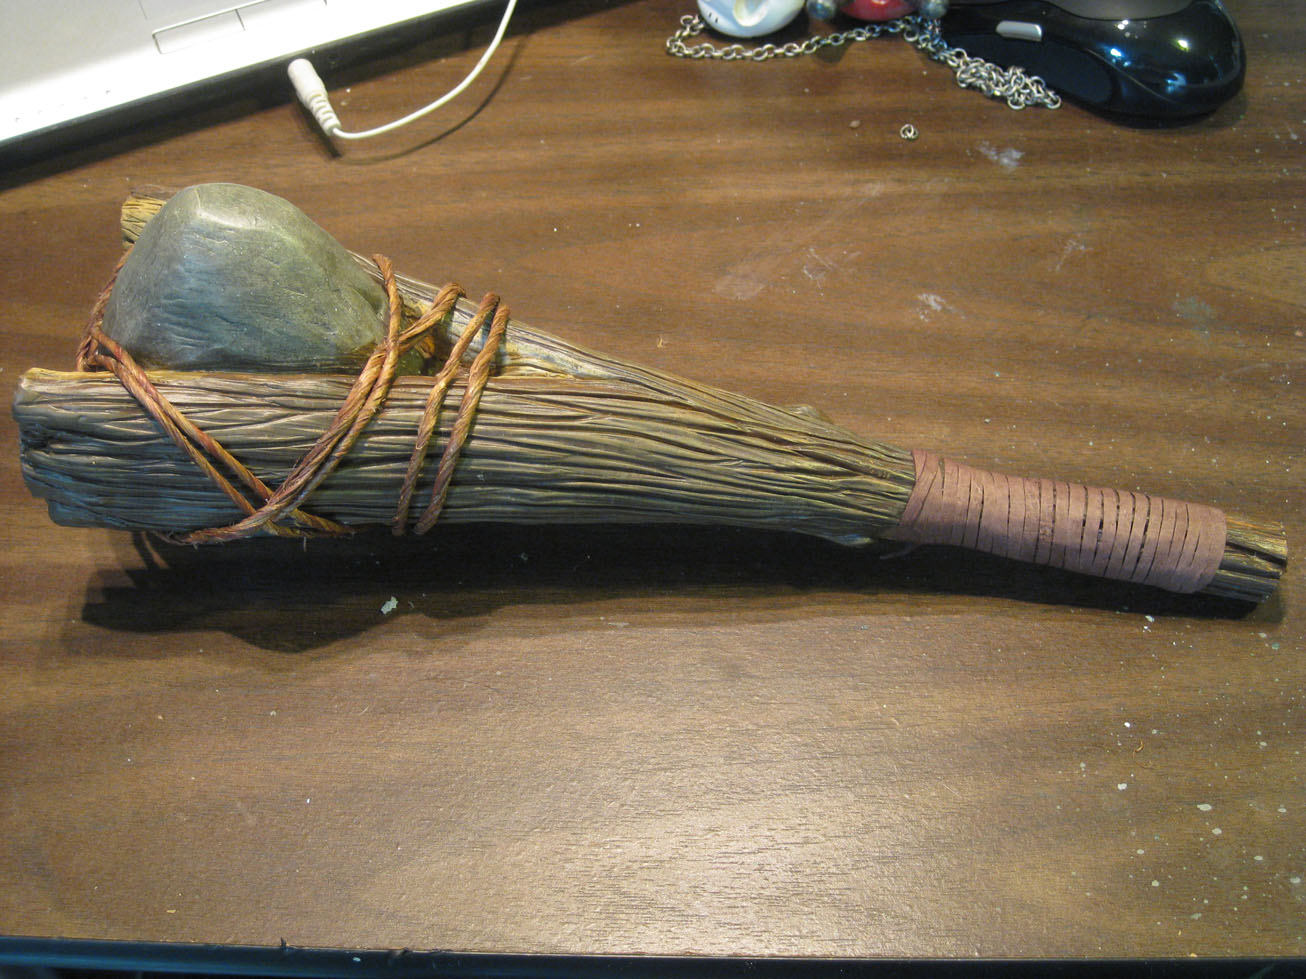
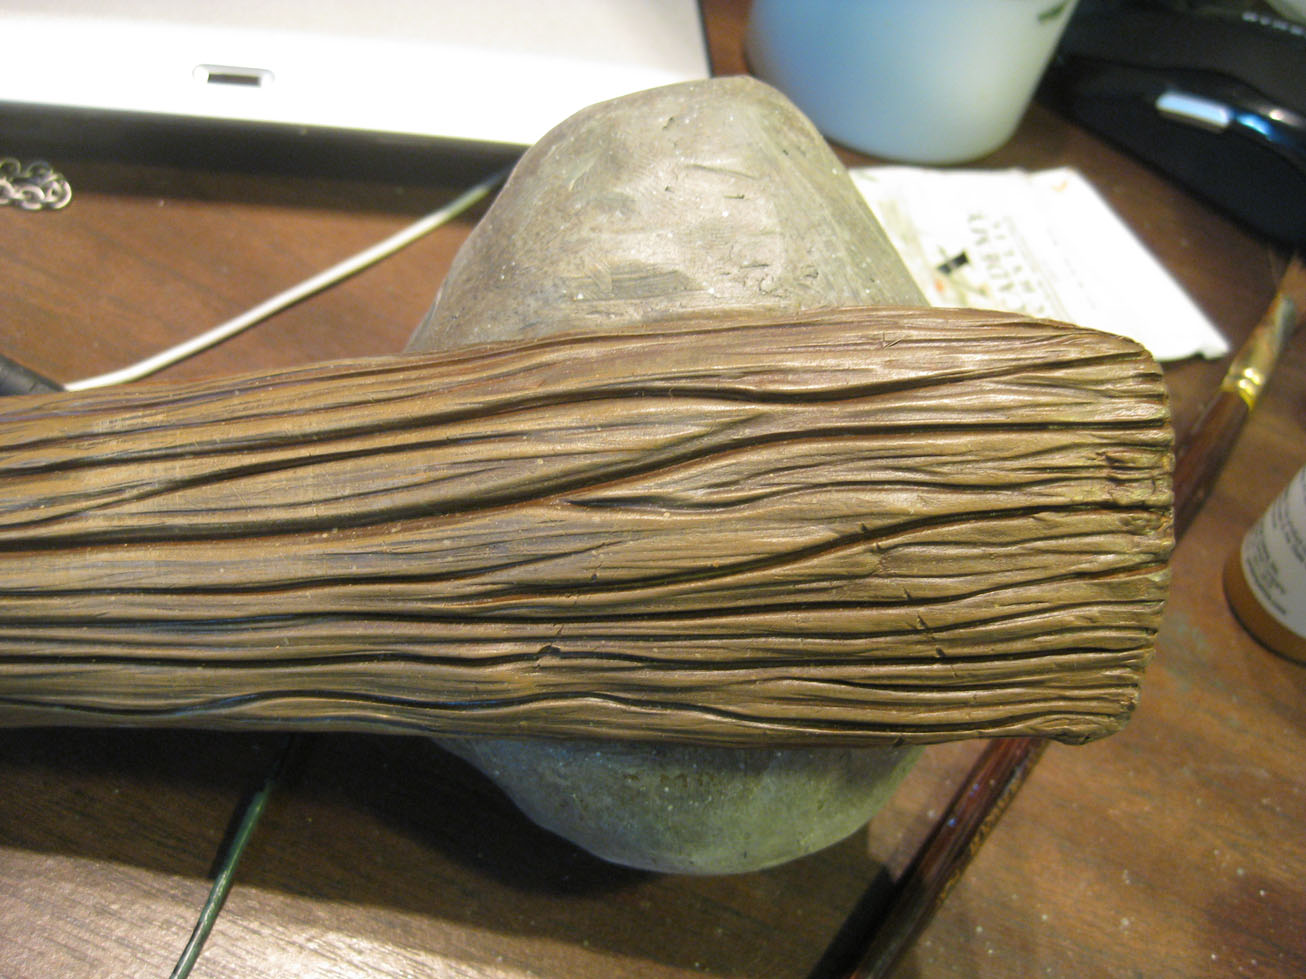
there\’s the war hammer


I\’ve now butchered three dunnys and created the necklace, there\’s the hammer again, I used floss to measure how much vine wire I would need

first coat of acrylic paint, looks like an army man, lol

2nd coat of paint too bring out the highlights, now he\’s looking super glossy, like some gross sweaty troll

added color to the lips and toes
sorry, took no pictures of me painting the hammer

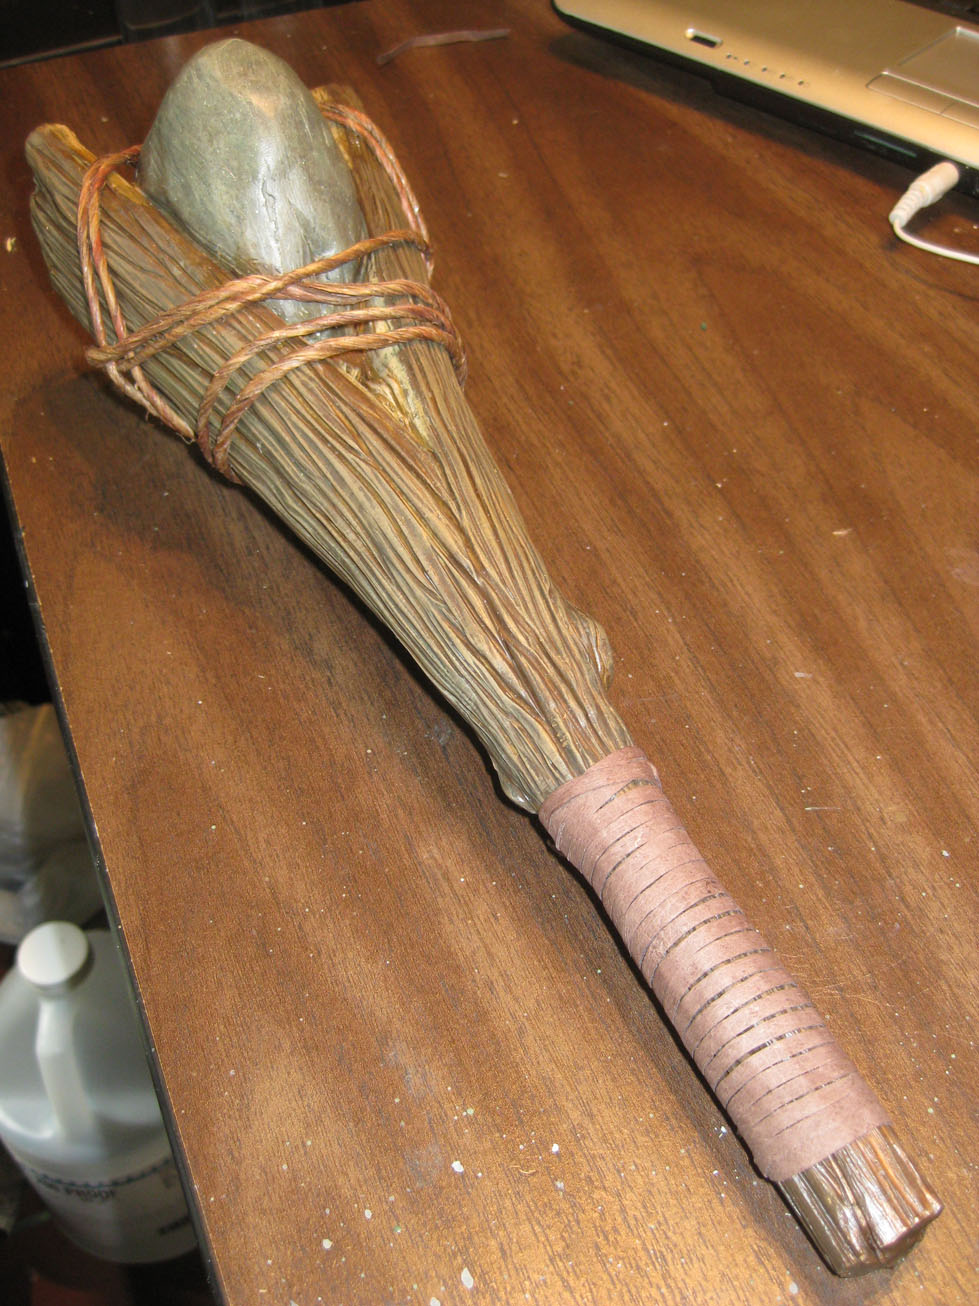
I\’ve added the vine wire and leather